Quick Start Guide
This guide is a high level overview of how SPP works. By the end of it you'll have set up a service, created an order form, and placed a (completely free) test order to see how it all flows together.
The Basics
Let's go over some core concepts first, starting from simple invoicing...
Invoicing
As an agency you've probably made invoices and sent them to clients. Here's how you create an invoice in SPP:
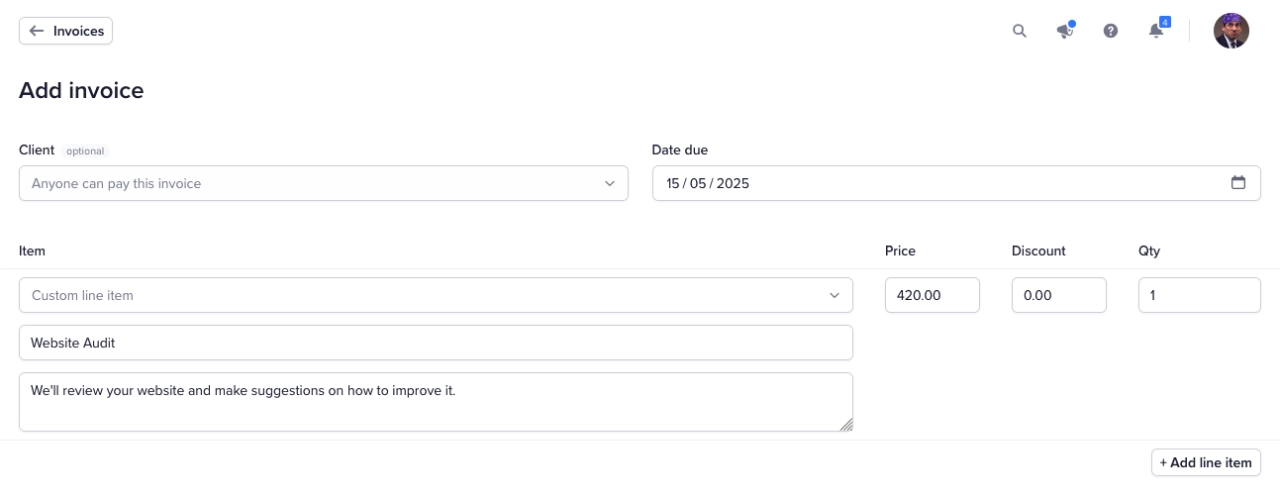
In this example we haven't picked a client because their profile is not set up yet. We can still share the payment link because a client account will be created automatically when the invoice is paid.
Orders
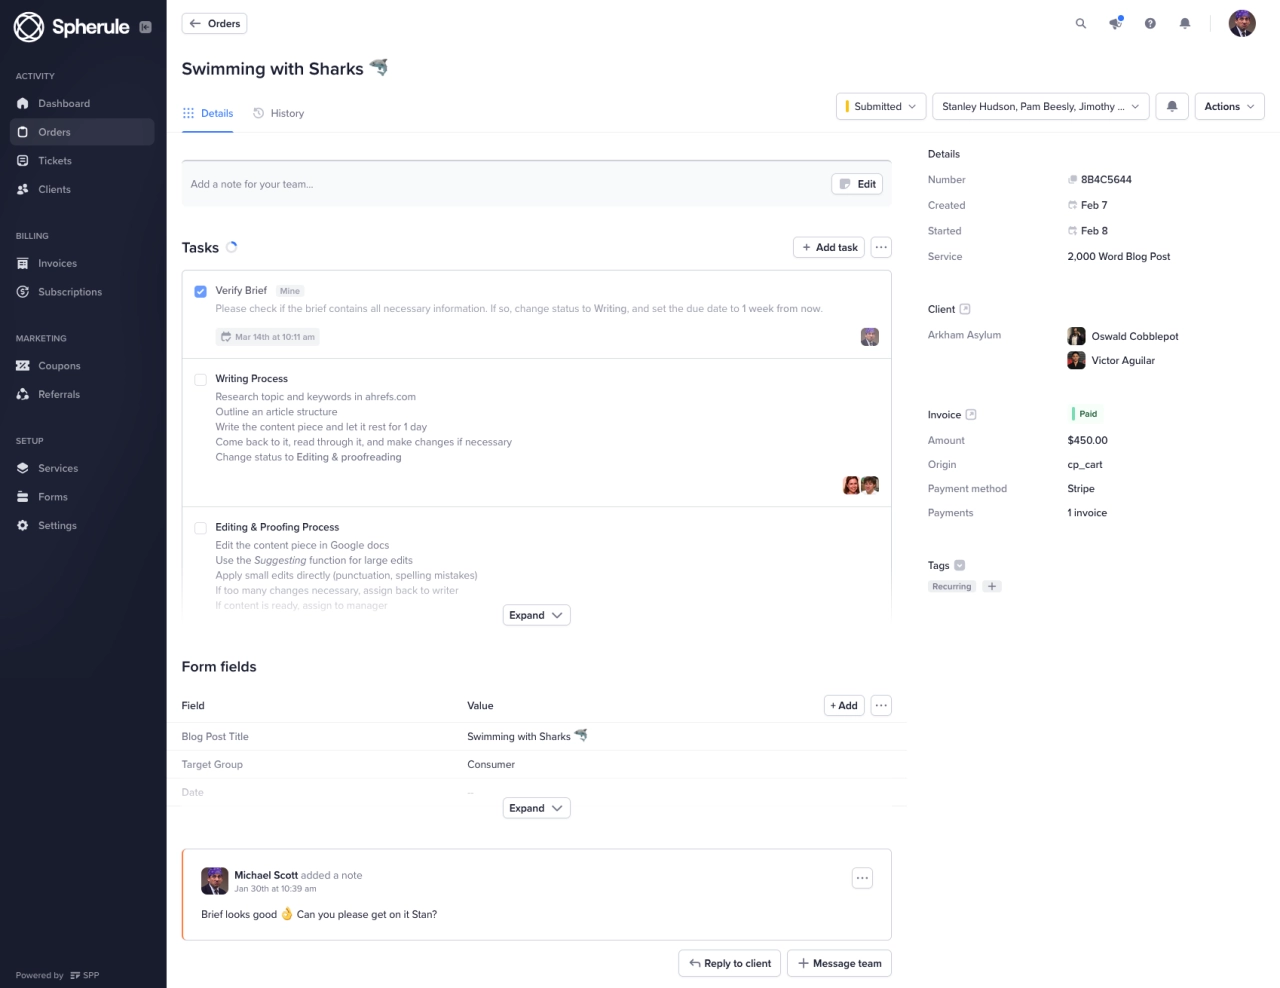
As soon as an invoice is paid it creates one or more orders. Think of them as "projects" that have all the details you need inside. You can send messages, change the status, add tags and much more.
Services
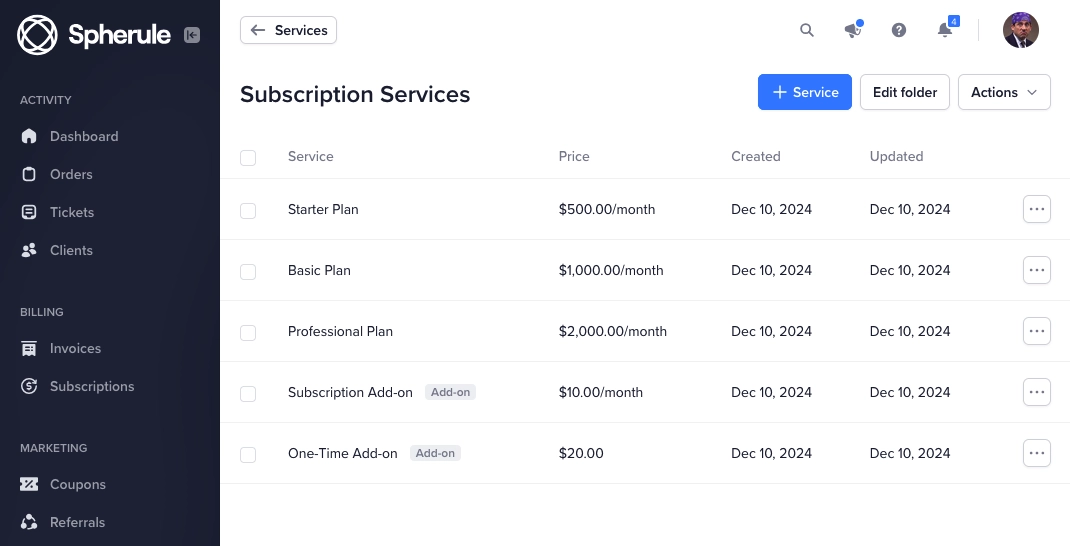
Wouldn't it be easier if instead of typing in a line item and price, you could pick from a list of predefined services? If you've set up your services you can choose them when creating an invoice.
Order Forms
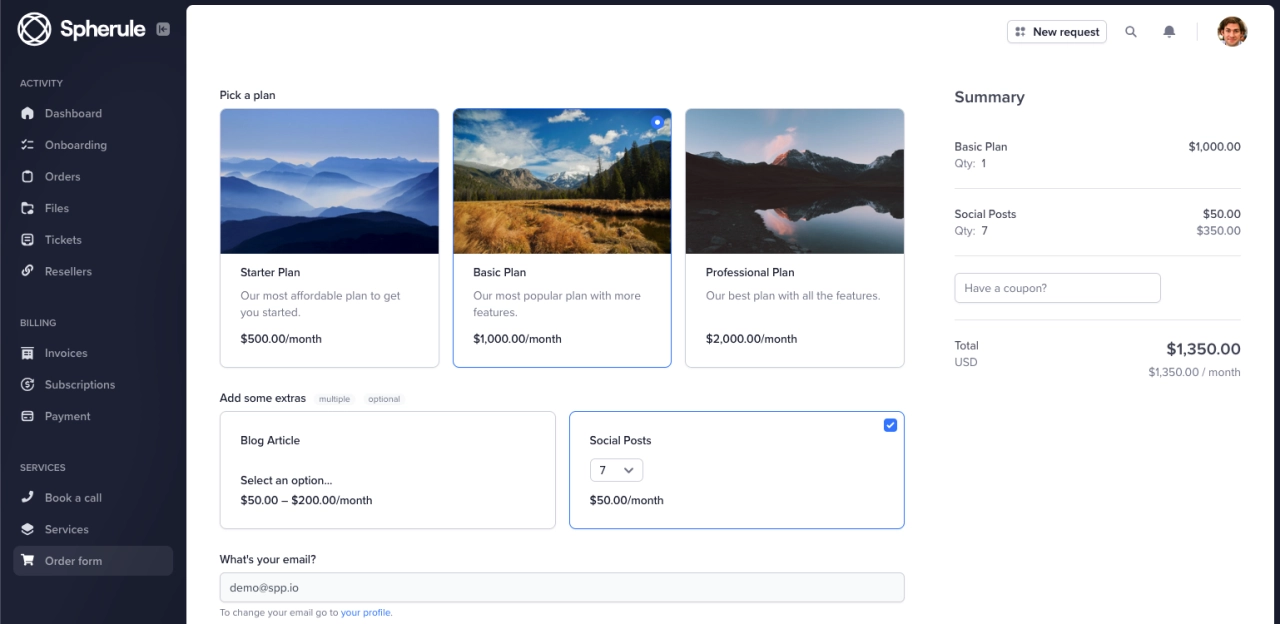
Manually creating an invoice for each client takes time. With order forms you can let clients select one or more services and pay for them on the same page. Forms are accessible to anyone as long as they have the unique form link.
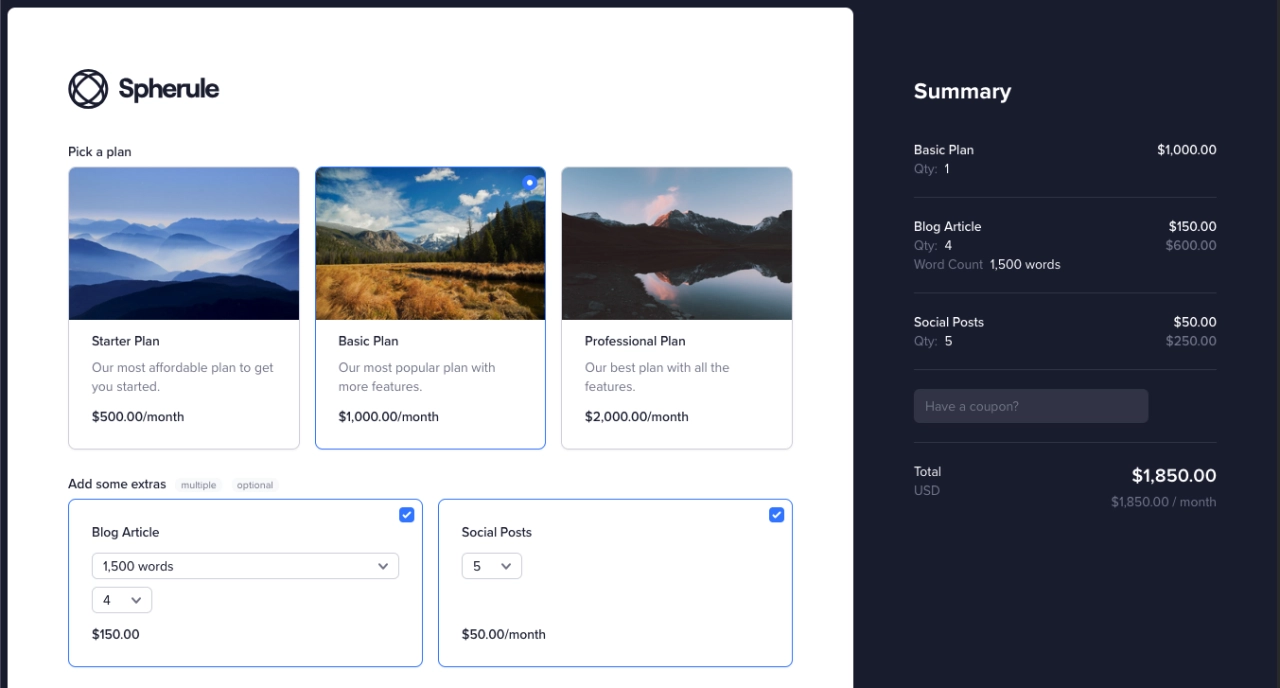
In SPP this is basically a fancy automated way of making an invoice. All the usual actions of invoice payment still apply: receipt is sent, order is created and so forth.
Client Portal
Order forms are accessible through a link, whether it's a brand new lead or a returning customer.
What if you wanted to make it a little bit more exclusive and have potential clients sign up before they can start ordering?
That's where the client portal comes in. Once they're into the portal they can see the order forms you've chosen to show on the sidebar:
By default, order forms require an email address, which created a client account after successful payment. Client accounts are passwordless, so they can log in with their email address only. However, clients can choose to set up a password after logging in.
For those who don’t want to allow account creation without payments being made, the signup page can be disabled easily in Settings → Clients.
Intake forms
In the order form example earlier we had some extra fields for client information such as their website and keywords:
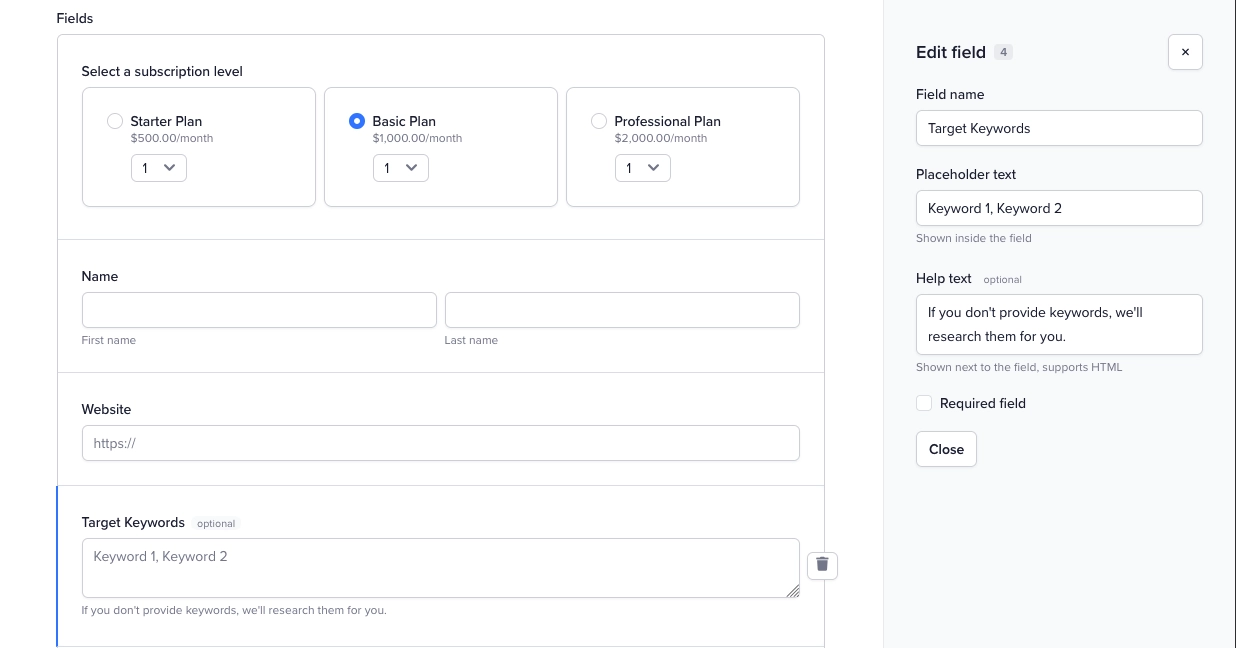
We need this info for every project but now it would be collected only from clients who went through this order form.
Let's fix that with an intake form.
Intake forms let you define the information you need on a service level. That means any time a service is purchased (whether it's through an order form, or a custom invoice) we'll be able to collect the required information from the client.
Best of all, by moving the project data fields from an order form to an intake form, you've simplified checkout and made it easier for clients to buy from you. Especially if your service requires a lot of information from the client.
Minimal Setup
By now you understand how clients can purchase services through order forms, make invoice payments, and provide their information in intake forms.
Let's get your new workspace set up:
Go to Settings → Company to set your company name and branding.
Go to Settings → Payments and connect Stripe.
Go to Services → Add New to create a service.
Go to Forms → Order Forms → Add New to add an order form with your new services.
Now we can test how it works...
Test The Payment Flow
Payment processors like Stripe let you make test purchases without using a real payment method. First, go to Settings → Payments and make sure your workspace is in "test mode":

Now you can open up your order form in a private browser window (so you're not logged in) and make a purchase using a test card:
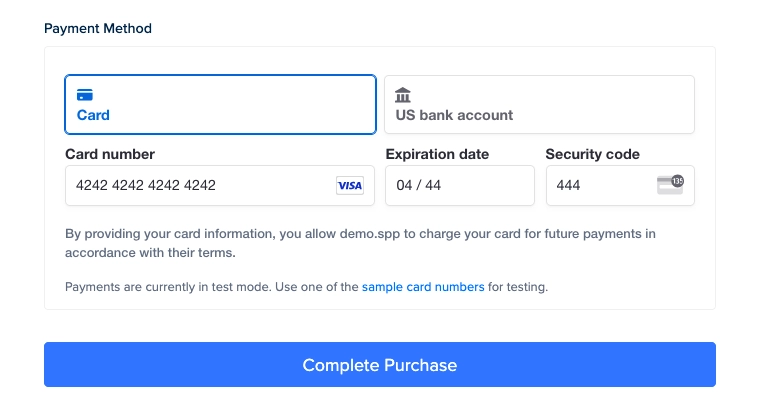
What should happen is you're redirected to a receipt page with your details and from there you're able to continue to the portal as a client. No login should be necessary, unless you used an already existing client's email during payment.