Forms
SPP offers four distinct form types to handle different stages of your client journey. Each form serves a specific purpose and helps streamline your agency operations and improve the client experience.
Order Forms
Order forms let your clients choose services and pay for them on the same page. Here's a live demo of a pricing page that takes you to an SPP order form.
To set up your forms, go to Forms → Order Forms → + Order Form. You can drag and drop fields from the option column onto your form, or click a field to append it to the end of your form. Changes you make to your fields are visible in real time as you make them.
Order Form Field Types
Service Fields
Selected services get added to checkout as line items. Order forms need at least one service field.
Option group: Field type where one of the available options must be selected
Checkbox group: Useful for add-on services because one or multiple services can be selected
Multi-dropdown: Lets clients add the same services multiple times. Useful if you have pricing variants, for example users can add one 1,000-word article and another 2,000-word article in the same checkout session
Account Fields
These fields provide the information for client's account in your portal. Besides the email field they are all optional. For example, if no password field is added, SPP will send the client a magic link to login via email.
The Email Opt-In field allows clients to opt in to receiving marketing emails if you're using our ActiveCampaign or MailChimp integrations
The billing address field is only required if you've turned on tax options
Payment Options Field
If you add a payment method field to your order form then clients can make a payment on the form. Otherwise they're redirected to a separate payment page.
Data Fields
Data fields are useful for collecting general information from the client, like "How did you hear about us?". Remember that the more fields you add to your form the lower the completion rate will be.
Additionally, you can pre-fill form fields with custom links to make transitions smoother for your clients.
Intake Forms
Most projects require some information from the client before your team can begin work. Their website URL, keywords etc.
While you can add these fields to your order forms, that increases friction during payment. To collect this information after the client has paid, you can set up an intake form instead (see intake form examples + best practices).
Setting Up Intake Forms
Go to Forms → Intake Forms → + Intake Form and use the form builder to set up your form then attach it to your services.
When a client purchases any service requiring project data their order will remain as Pending until they fill out the form in the order.
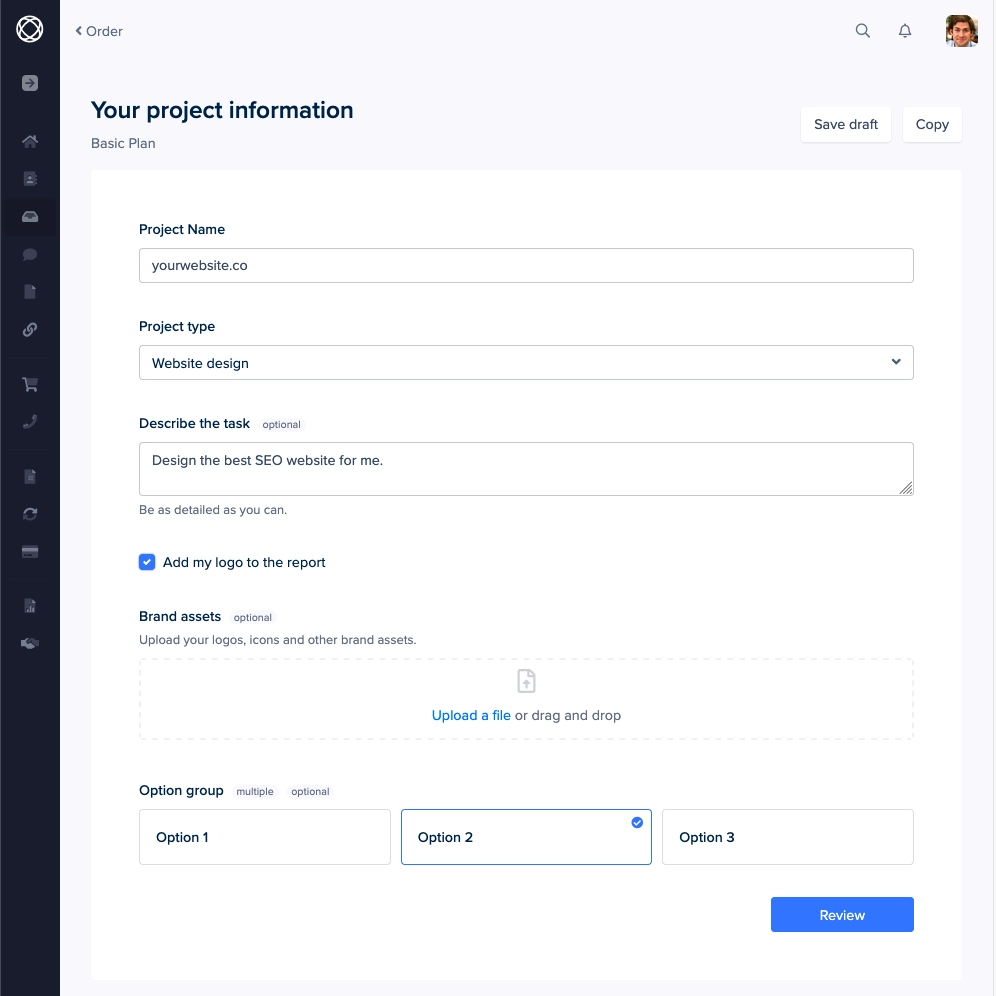
If they haven't filled out the form in 24 hours, SPP will send an email reminder asking to provide project data. As soon as project data is provided, order status will automatically change to Working.
You and your team can then see their project information in the order details and get started.
Tip: Don't ask static questions that clients need to repeat every time. For instance, if you require them to upload brand assets, an onboarding form would be better suited.
Onboarding Forms
Some client information might be reusable across multiple projects. Usually it's their brand details and logos.
This is where you can ask them to fill out an onboarding form and leave only project specific questions in your intake form.
If any of the brand information changes, clients can update their onboarding form as needed.
Using Onboarding Forms
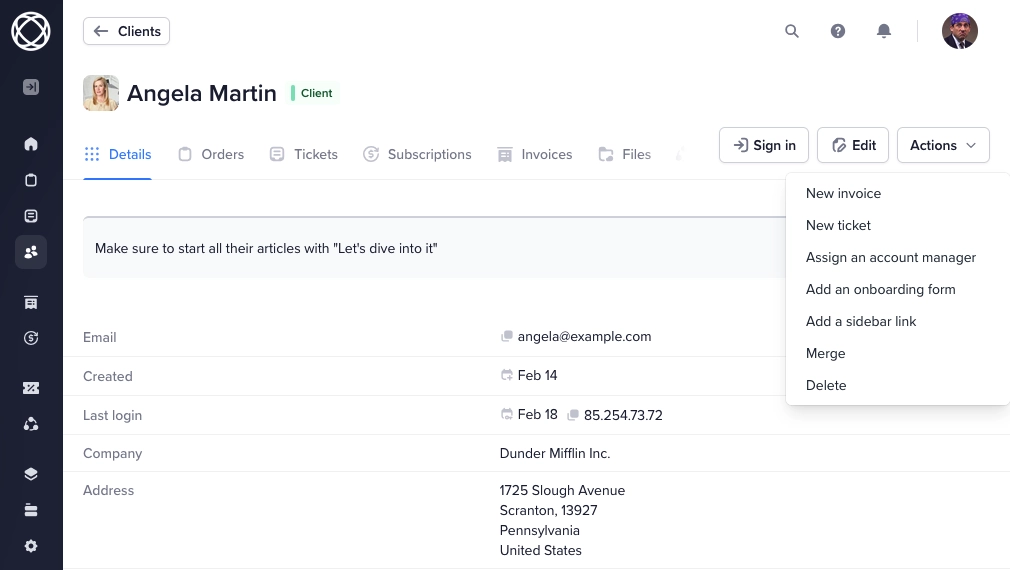
Once you've set up your onboarding form, you can share it with signed-in clients using the link, or you can assign a form from the client profile. To do so, open a client profile, click the Actions button and select Add an onboarding form:
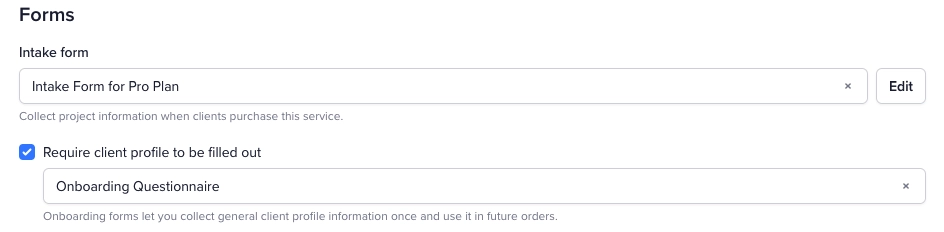
You can also assign the onboarding form to any of your services to automatically check if a client has filled the form in the past, and show them the form if they haven't:
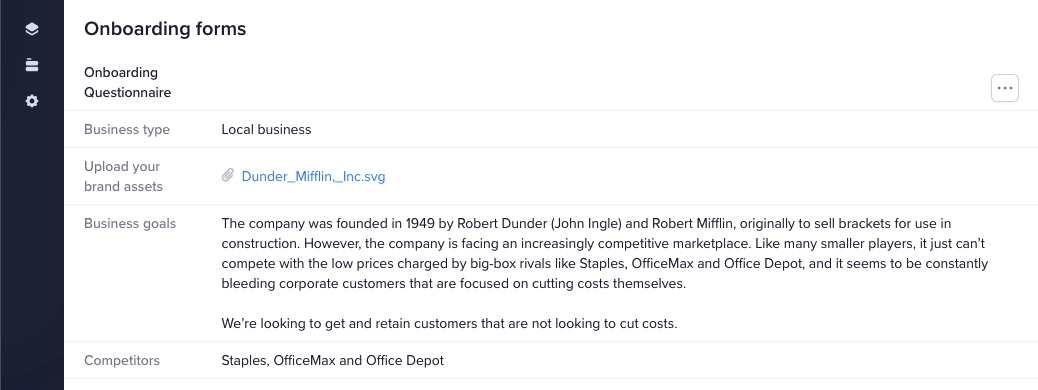
Once the client has submitted the form, you can view it in their client account. Clients are also able to view submitted data from their dashboard, and update onboarding forms if data needs to be changed.
Contact Forms
If you have the helpdesk module enabled, you can set up contact forms that can be used for quote requests, support queries, and feedback collection. Any contact form submission will create a ticket.
Setting Up Contact Forms
To get started, go to Forms → Contact Forms. You can add a new contact form using the form builder, then click the Actions button → Share. You can share your form in various ways:
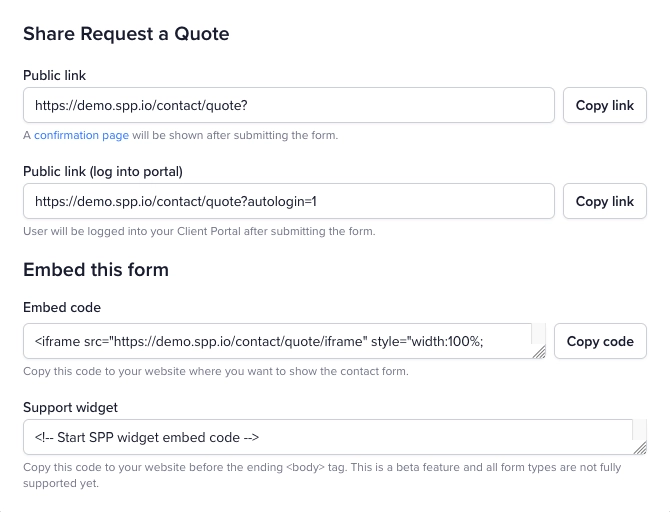
Public link - Share it with anyone using a direct link.
Public link (log into portal) - Same as above, except users who submit the form will automatically be logged into your client portal. Useful for quote requests or lead gen forms.
Embed code - Get the iframe code and paste it in your website. The form will automatically apply our standard design, so no styling is necessary.
Support widget Use this code to display a help widget on your website in the bottom right corner. Clicking it will open the contact form in a popup.
Form Field Rules
With SPP you can create rules to show and hide form fields based on selected values across all form types (order, intake, onboarding, and contact forms).
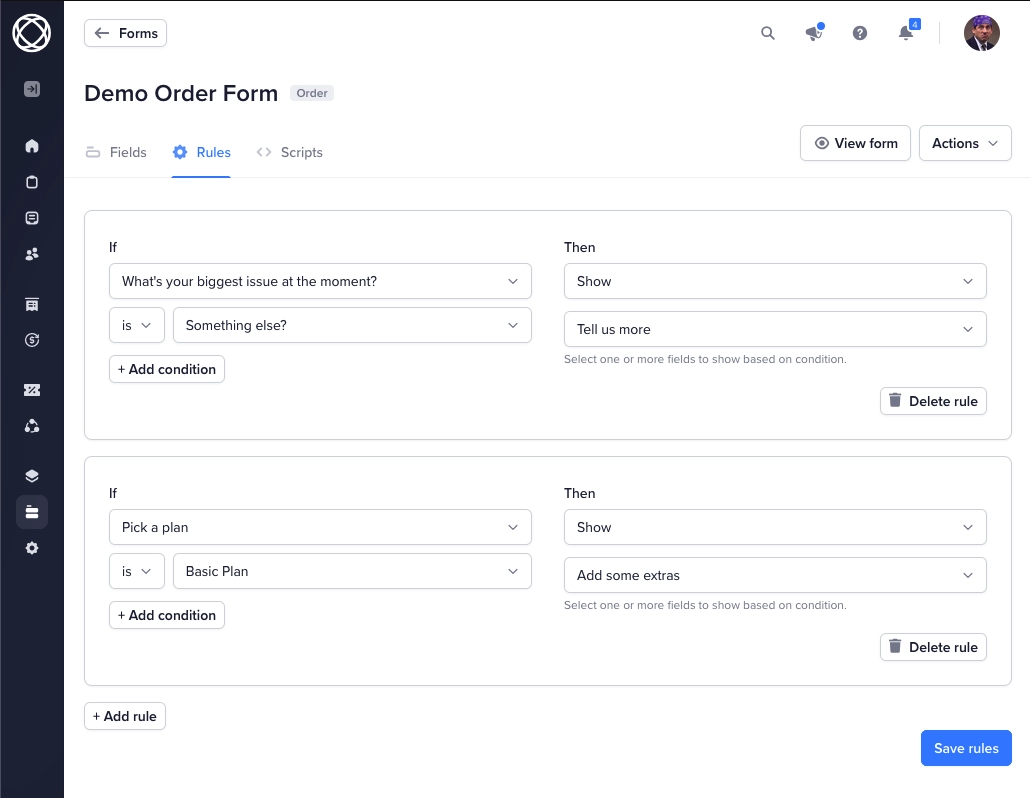
A rule that shows a field when a condition is met will automatically hide the field when it's not met. Ideally you only need one rule per field.
Choosing the Right Form Type
Here's a quick reference for when to use each form type:
Order Forms: Service selection and payment details.
Intake Forms: Project-specific information so your team can get started on fulfillment.
Onboarding Forms: Static business information and brand assets.
Contact Forms: Lead generation, support requests, and general inquiries.
By using the right form at the right time, you'll create a smoother client experience while collecting all the information your team needs to deliver exceptional work.